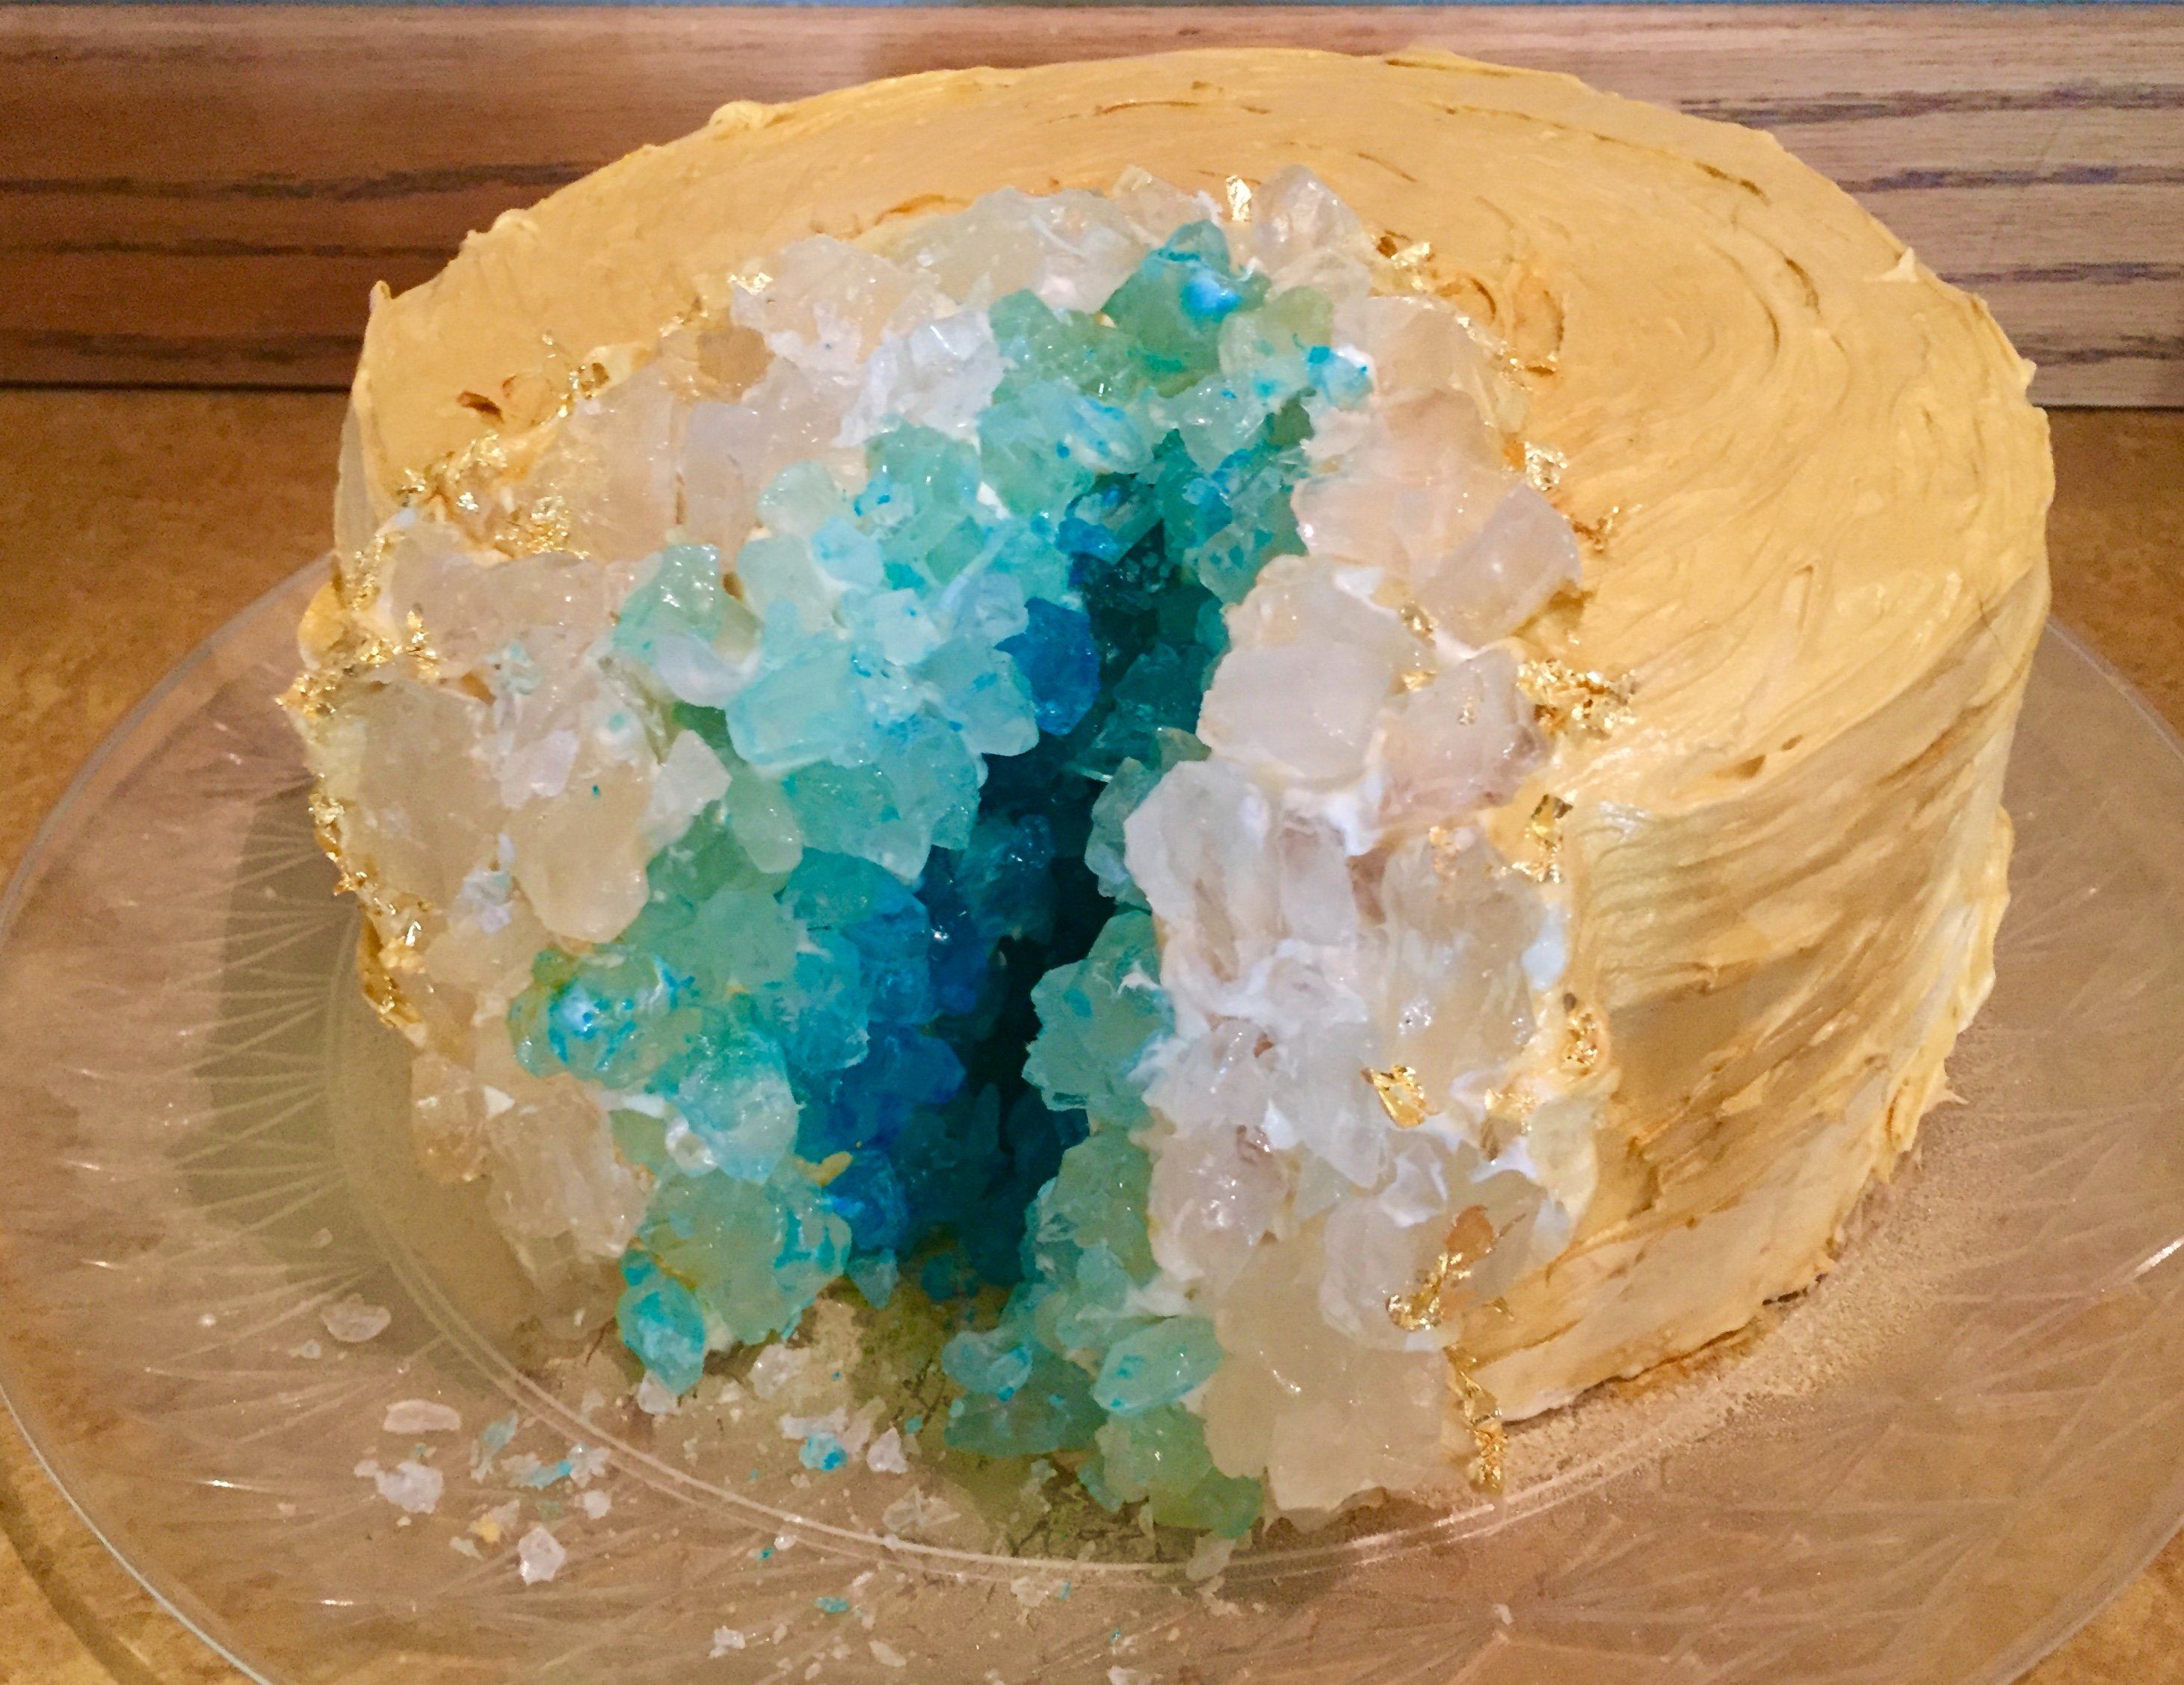
How To Make A Geode Cake
DIY Gold-Adorned Geode Cake Made Easy
Extravagant geode cakes have been showing up more and more at weddings and bakeries lately and it's no wonder why. They are awe-inspiring! There's also a geode trend happening with another generation.
With the uprise of STEM (science, technology, engineering, math) education, many children are being gifted crystal-growing and geode-smashing science kits. My own daughter is absolutely obsessed with geodes! She just had her "golden" birthday, so of course, I had to try my hand at a geode cake.
Being that this geode cake would be for a kid's party, though, I didn't want to mess with fondant, food coloring, or anything even remotely complex! As such, I set out to decorate a DIY geode cake that would be incredibly simple. I baked boxed cakes (don't tell anyone), raided the pre-colored rock candy bins at the local candy store, and purchased some shimmering food coloring mist. But, because this was her golden birthday, I adorned the crystal cut-out with 24-karat edible gold.
It really was such a simple project and I received seemingly non-stop compliments from both the kids and adults for the entirety of the party.
How to decorate a geode cake for a kid's birthday'
Step 1:
Determine how many layers you want your cake to have and make the needed quantity of cakes for stacking. You will be cutting out a large portion of cake for the crystal vein, so make sure you account for the missing portion when determining required quantity needed to serve all guests.
Step 2:
Use frosting as the 'glue' to hold your layers together and then continue to apply frosting to the entire cake.
Step 3:
Carve out a portion of the cake in the shape you want your crystal vein to be. Ensure the cake you remove is larger than you want the vein to appear because the rock candy will add volume. discard the cut-out portion or use it as an excuse to sample the cake.
Step 4:
Liberally apply frosting to the portion of the cake that has been cut.
Step 5:
Use food shimmer spray to give the cake a textured appearance. I used gold but silver, brown, or black would also give a rock-like appearance.
Step 6:
Choose 3 or 4 different shades of colored rock candy. Starting with the darkest candy, press the candy into the frosting moving from inside to the outside.
Step 6:
Follow with the lighter shades of rock candy. Should you find any frosting has squeezed through the cracks between crystals, use a meat tenderizing mallet to break any extra rock candy into smaller crystals and sprinkle it in these sections.
Step 7:

Using an application brush, pull and apply small bits of loose-leaf edible gold to the outside edge of the candy crystal vein.
Step 8:
Add candles to the top of the cake and warm up those vocal cords for a birthday tune!
Find vanilla beans, seeds, powder, or extract for your cakes and frostings here and edible metals for adornment here.


Slofoodgroup
Author